Jam SQL Studio is designed as an AI-native SQL IDE. There are three ways to leverage AI with your databases: the built-in AI Chat Sidebar for conversational assistance right in the editor, the AI Workspace for file-backed collaboration with AI agents, and the Jam SQL Skill & MCP Server for external AI tools to safely interact with your databases.
Quick Start: Connect Your AI Tool
The fastest way to give your AI coding agent access to Jam SQL Studio is with the jam-sql skill. Run a single command — it auto-detects your agents (Claude Code, Cursor, Copilot, Codex, Windsurf, and 20+ more):
jam-sql add-skill
The jam-sql CLI is bundled with the app and installed to your PATH automatically. The skill teaches your AI agent what Jam SQL Studio can do and how to use it. For full MCP connectivity (query execution, schema access), also enable the MCP server in Settings → AI Integrations.
AI Chat Sidebar
The AI Chat Sidebar brings conversational AI directly into the Query Editor and SQL Notebooks. Click the AI button in the toolbar to open a chat panel alongside your work.
No extra subscription required. The AI Chat Sidebar uses your locally installed AI CLI. Jam SQL Studio reuses your existing CLI setup — it does not proxy, bill, or require any additional AI subscription or API key configuration.
Supported AI Backends
The AI Chat Sidebar supports two AI backends. Install either or both — Jam SQL auto-detects available CLIs:
Claude CLI (Claude Code) — Anthropic's AI coding assistant
When both CLIs are installed, a segmented control in the sidebar header lets you switch between them. Your preference is saved and applied to new tabs automatically.
How It Works
Install Claude CLI or Codex CLI (or both)
Open a Query Editor or SQL Notebook
Click the AI button in the toolbar to open the chat sidebar
Ask your AI about your SQL — it can read your editor content, run queries, and update your code
Features
Database-aware — the AI auto-connects to the MCP server for schema introspection and query execution
Editor integration — the AI can update your SQL directly in the editor
Notebook support — In SQL Notebooks, the AI understands your cell structure and can add, edit, and execute cells on your behalf
@-mentions — type @ to reference database objects from the Object Explorer
Streaming responses — see answers appear in real-time with inline tool call indicators
Session continuity — conversations persist across tab switches and session restores
Multi-backend — switch between Claude and Codex with a single click; each manages its own authentication
Zero configuration — if a supported CLI is installed, the sidebar auto-connects to the MCP server. No API keys to paste into Jam SQL.
Privacy — all communication happens locally between the app and the CLI binary on your machine
Understanding the Three Approaches
Jam SQL Studio offers flexibility in how you work with AI. Depending on your workflow, you might prefer one approach or combine them:
AI Chat Sidebar vs AI Workspace vs Skill / MCP Server
Aspect
AI Chat Sidebar
AI Workspace
Skill / MCP Server
Where it runs
Right panel in Query Editor / SQL Notebook
Inside Jam SQL Studio (integrated terminal)
External AI tools (Claude Code, Cursor, Copilot, Codex, etc.)
Best for
Quick questions, SQL help, interactive editing
File-backed iteration with AI agents
Complex analysis, multi-step tasks from external tools
Skill: procedural knowledge; MCP: live snapshots of tabs, editors, results
Configuration
Install Claude CLI or Codex CLI
Enable AI Workspace in Settings
jam-sql add-skill + enable MCP Server
AI Workspace (Inside the App)
The AI Workspace provides file-backed query tabs that sync bidirectionally with .sql files. Combined with the integrated terminal, this enables AI agents (like Claude Code) to edit your queries in real-time.
Pro Feature: AI Workspace sync features (file sync, schema export, context files) require Pro. The AI Terminal itself is free for all users.
AI Workspace Features
Bidirectional file sync — Query tabs sync to .sql files; AI edits the file, your tab updates automatically
Auto-generated context — CLAUDE.md and AGENTS.md contain connection info, schema summary, and recent execution results
Schema export — Detailed table/view/procedure definitions exported to .schema/ for granular @table mentions
Results history — Query results saved to .history/ so AI agents can analyze output and iterate
Knowledge pack — App capabilities and how-to documentation in .knowledge/
MCP environment variables — Terminal sessions include JAM_SQL_MCP_ENDPOINT and JAM_SQL_MCP_TOKEN for direct MCP access
Auto-generated MCP configs — Config files for popular AI tools (.mcp.json, .cursor/mcp.json, opencode.json, .vscode/mcp.json) are automatically created with endpoint and token
Zero-Config AI Tool Setup
When you open an AI Workspace terminal, MCP configuration files are automatically generated in the workspace directory. AI agents like Claude Code, Cursor, and OpenCode will automatically discover and connect to the MCP server without manual configuration. These files are added to .gitignore to prevent accidental token commits.
How to Use AI Workspace
Open Jam SQL Studio and go to Settings → AI Workspace
Enable AI Workspace and select or create a workspace folder
Open the integrated terminal (View → Terminal or click Terminal in the sidebar)
Run your AI coding agent (e.g., claude for Claude Code)
The agent can read/edit .sql files, and your query tabs update in real-time
The AI Workspace settings panel showing workspace folder configuration and sync options.
Pro Tip: Use @ Mentions
With schema export enabled, you can use @Customers or @Orders in your prompts to reference specific table definitions from the .schema/ folder.
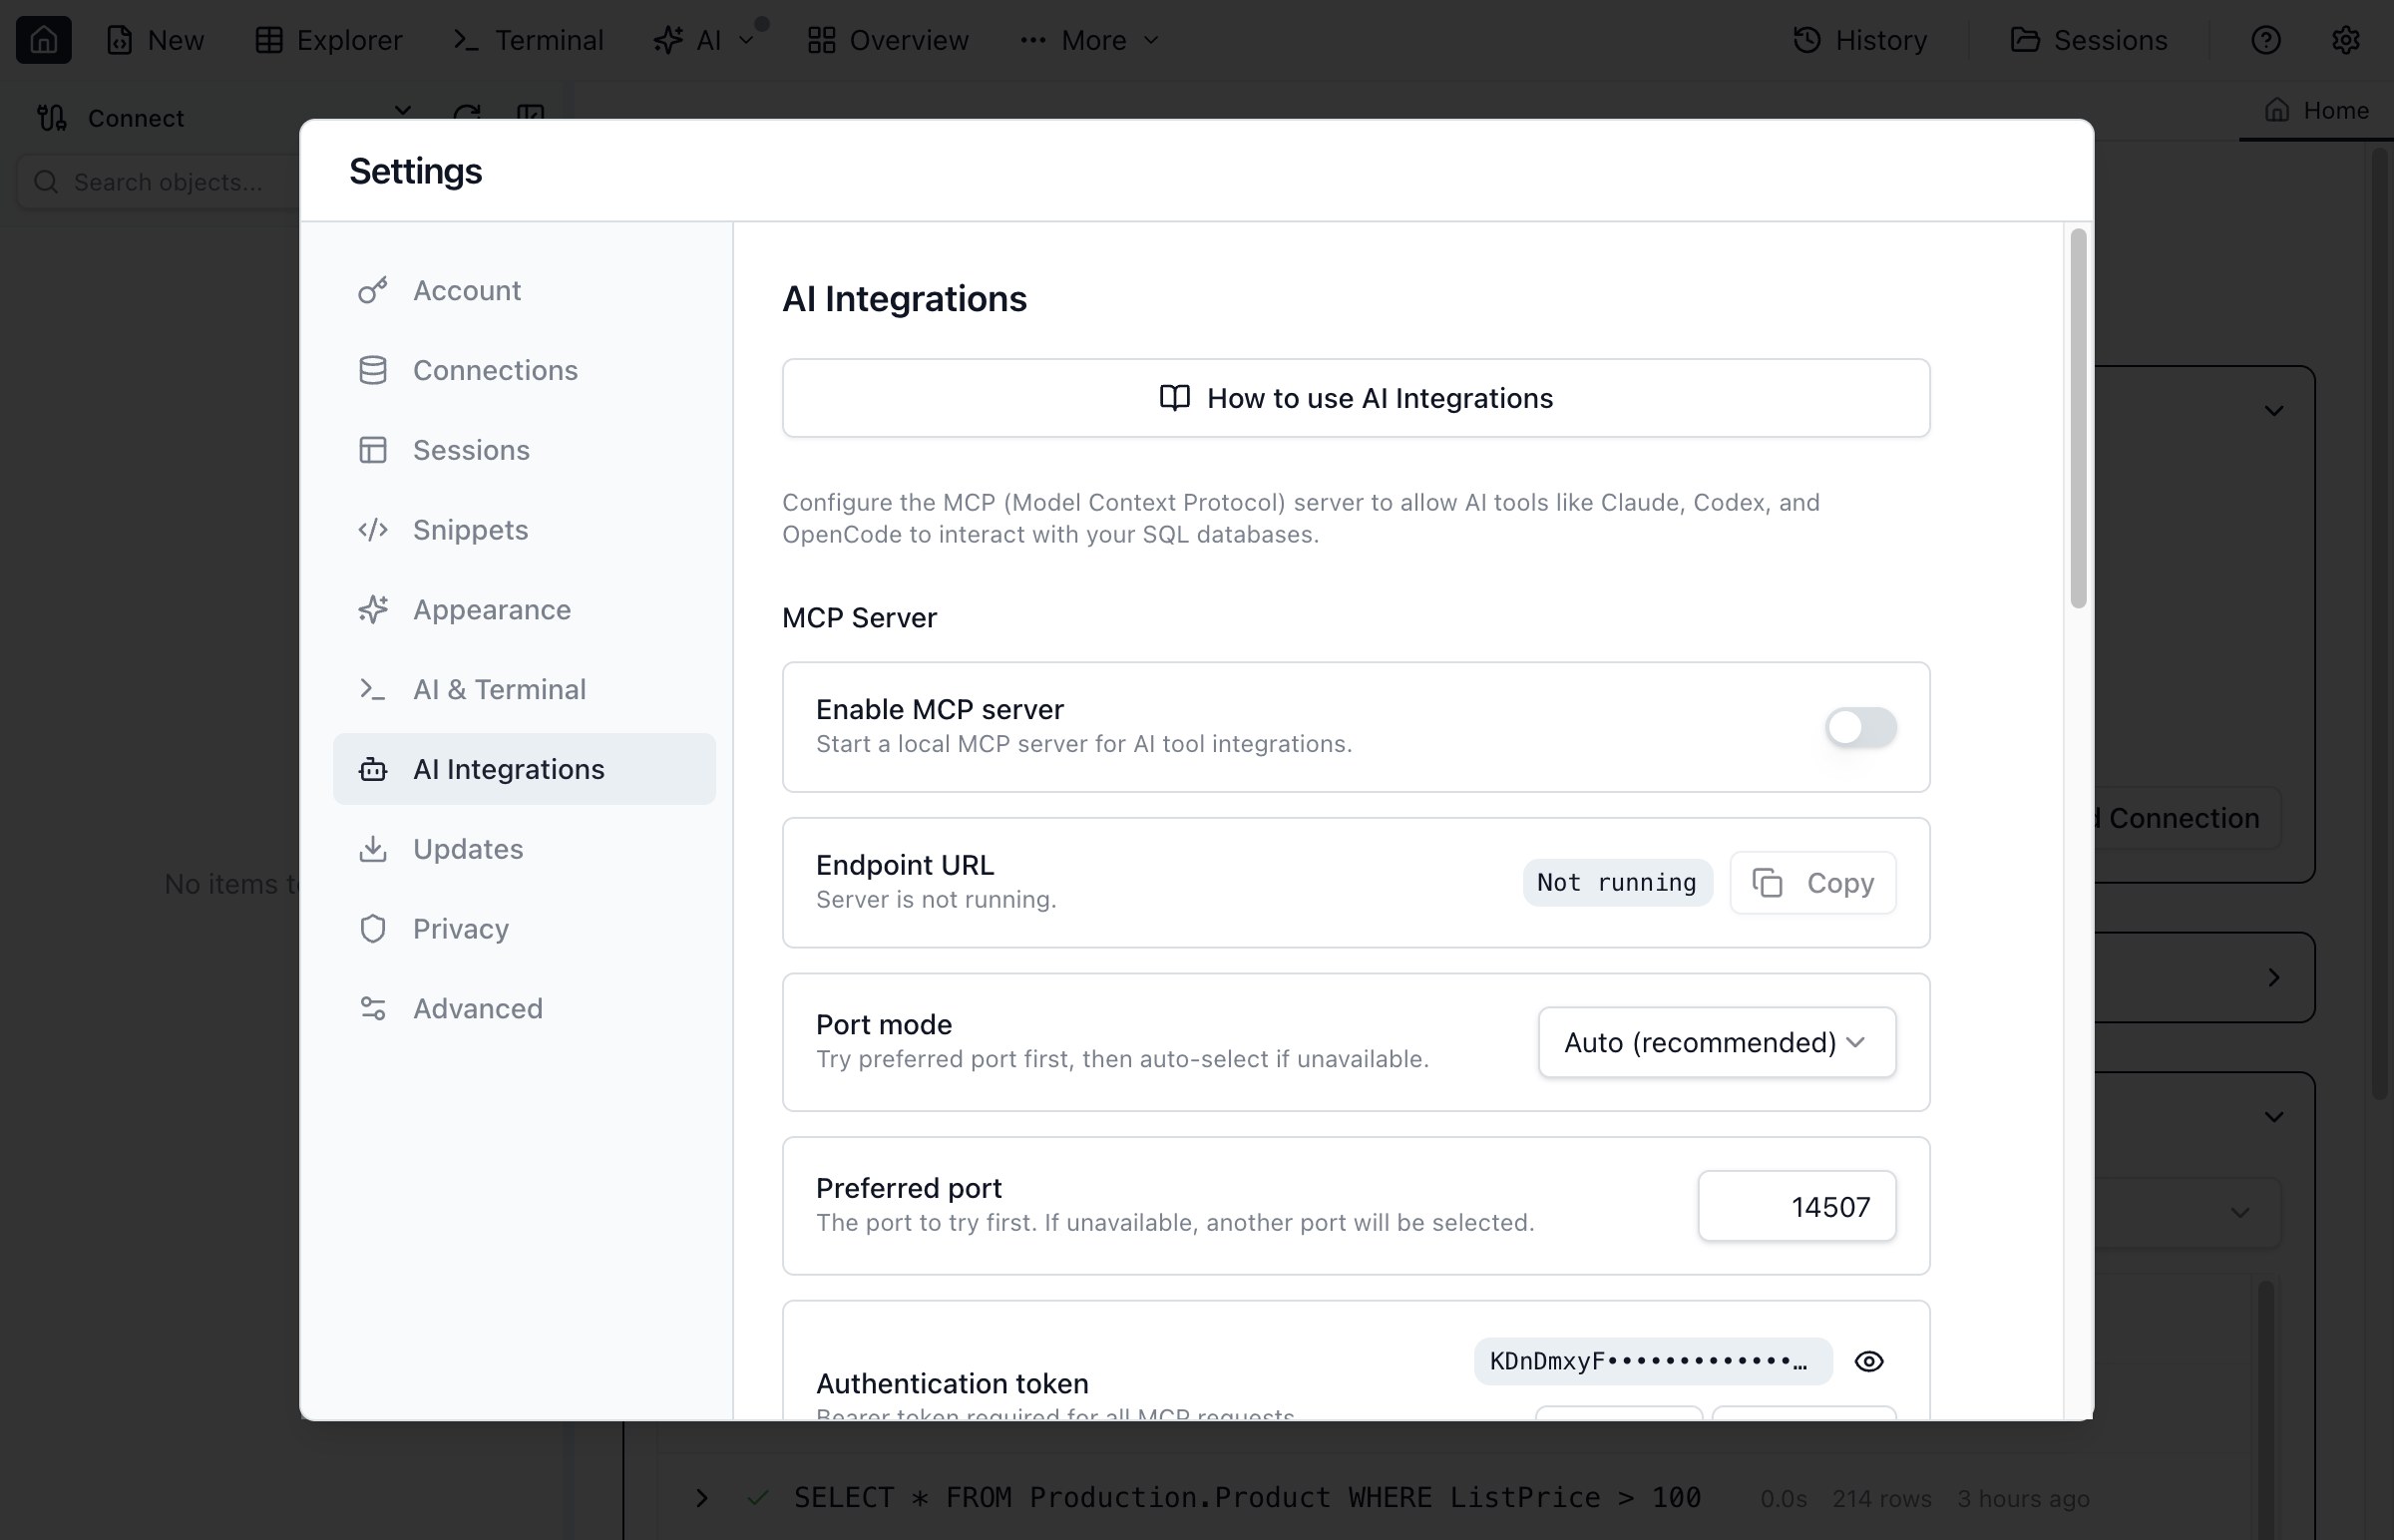
MCP Server (Outside the App)
Jam SQL Studio runs a local MCP server (Model Context Protocol) that powers the jam-sql CLI and the AI skill. When you run jam-sql add-skill, your coding agent learns to use this CLI to list connections, execute queries, control the UI, and read live app state — all under configurable safety policies. You can also connect any MCP-compatible client (Claude Desktop, LangChain agents, or custom tools) directly to the server for standalone access.
MCP Server Capabilities
The MCP server exposes tools and resources for connections, queries, UI control, and app context. For a live, accurate list, read sql-studio://knowledge/app_capabilities.
Connection & Query Tools
connections_list — List saved connections (IDs, names, engines, servers — no secrets)
connections_connect — Connect the app to a saved connection (settings-gated; disabled by default)
connections_add — Add a new database connection on the user's behalf (settings-gated; disabled by default)
When you enable Settings → AI Integrations → Allow AI to add new connections, AI agents (and the jam-sql CLI) can create a new database connection on your behalf. The agent supplies the engine, server, credentials, and optional alias; Jam SQL Studio test-connects first, then persists with the password encrypted at rest. If the test fails, nothing is saved.
Three permission levels:
Deny (default): the tool is not available.
Confirm each: a dialog opens for each call; you approve or deny.
Allow: the tool runs silently — good for batch / unattended workflows.
query_switch_tab — Switch result tabs (results, messages, plan, chart)
query_set_result_display — Set display mode (grid or plaintext)
query_execute_with_plan — Execute query with execution plan (estimated or actual)
query_get_execution_plan — Get execution plan summary and raw content
query_get_messages — Read messages from the messages tab
query_get_results — Read query results with optional row limit
query_show_chart — Show/hide chart visualization for results
query_set_chart_config — Configure chart for query results
MetaInfo over MCP
schema_get_metainfo — User-declared MetaInfo for one table: loose FK targets, JSON/enum column declarations with cached paths and values, and the display/label column. Schema tools omit this detail; call it on any table whose metaInfo counts are non-zero.
schema_list_tables and schema_get_columns include a compact metaInfo counts object (omitted when a table has no user declarations) so agents can cheaply identify which tables need a schema_get_metainfo call.
Database Blueprint Tools
Manage Database Blueprints (folders of .sql files kept in sync with a linked database) from AI agents, under the same permission model as SQL writes:
Read-only (permission level read-only or confirm; denied at block):
blueprint_list — List registered blueprint folders with label, engine, and linked-DB count
blueprint_get — Full metadata, object counts, and on-disk drift for one blueprint folder/link
blueprint_preview — Per-file change summary for the pending refresh (no write)
Write-gated (denied at block/read-only; in-app approval required at confirm):
blueprint_attach — Register an existing blueprint folder (e.g. after git clone)
blueprint_create — Materialize a database as a new blueprint in an empty folder
blueprint_refresh — Re-emit DDL and data sidecars from the linked DB into the folder
DB-mutating (confirm-only; approval dialog shows the generated SQL before execution):
Inside Codex, type /mcp to see active MCP servers.
Troubleshooting: If Jam SQL's AI Chat Sidebar shows unexpected argument '--json', your Codex CLI is incompatible with session resume. Update Codex CLI and confirm codex exec resume --help lists --json.
Claude Desktop(Advanced - Requires Node 20+)
Note: Claude Desktop only supports stdio transport, not HTTP. This requires using the mcp-remote proxy which needs Node.js 20+ installed separately.
⚠️ Known Limitation: Claude Desktop ships with Node.js 18, but mcp-remote requires Node.js 20+. You must have Node 20+ installed and configure Claude Desktop to use it.
Step 1: Verify Node.js 20+
Check your Node version:
node --version # Must be v20.0.0 or higher
If you don't have Node 20+, install it via nodejs.org or a version manager like nvm.
Use any MCP client library or make direct HTTP calls to the endpoint. The server implements the standard Model Context Protocol specification.
Troubleshooting
Connection refused? Make sure Jam SQL Studio is running and MCP server is enabled in Settings.
401 Unauthorized? Double-check your token — it must match exactly (no extra spaces).
Port mismatch? The port number may vary. Copy the endpoint URL from Jam SQL Studio settings (or click the MCP row in the AI menu — it shows 127.0.0.1:<port>).
Security Model
The MCP server binds to 127.0.0.1 only (localhost). All requests require a valid Bearer token. Query execution is disabled by default; when enabled, Read-only mode enforces strict safe queries (SELECT, EXPLAIN, SHOW, PRAGMA only) and Confirm mode prompts you to approve each write query. Passwords are never exposed. Full audit logging of every tool call.
Permission Levels
Configure the AI policy in Settings to control what the MCP server can do:
Block (default) — No query execution; allows safe query-tab editing (open tab + set SQL text) and schema introspection
Confirm — Allow write queries only after in-app approval (each write prompts you)
Write Approval Flow (Confirm Mode)
When permission level is set to Confirm, AI agents can execute write queries (INSERT, UPDATE, DELETE, etc.) but only after you approve each one in an in-app dialog:
How It Works
AI agent submits a write query via query_execute
Jam SQL Studio shows an approval dialog with:
Query type badge (INSERT, UPDATE, DELETE, etc.)
Full SQL preview (syntax highlighted)
Connection and database context
60-second countdown timer
You choose: Approve to execute, or Deny to block
If no response within 60 seconds, the query is automatically denied
Result (success/denied) is returned to the AI agent
Write Approval Guardrails
Timeout protection: Queries auto-deny after 60 seconds if you don't respond
Full audit logging: Every write attempt (approved or denied) is logged with timestamp, query, and outcome
Per-connection override: Set permission level per connection (e.g., read-only on production, confirm on dev)
No batch writes: Multi-statement queries are always rejected, even in Confirm mode
Agent Capabilities
Some MCP tools are controlled by additional toggles in Settings → AI Integrations:
Allow AI to connect using saved connections — Off by default (uses saved credentials)
Allow AI screenshots — On by default (disable if you handle sensitive data)
jam-sql CLI
Jam SQL Studio ships with a CLI tool (jam-sql) that wraps the MCP server for terminal access. The CLI is bundled with the app and automatically installed to your PATH on every launch — always in sync with your app version.
The CLI is also used by the Jam SQL AI Skill. Run jam-sql add-skill to install the skill for Claude Code, Cursor, Copilot, Codex, Windsurf, and 20+ other AI agents — the skill teaches your agent how to use the CLI to interact with your databases.
Pairing
Run jam-sql pair to securely connect the CLI to a running Jam SQL Studio instance. No manual token copying — the CLI obtains the token directly from the app using a challenge-response protocol:
# Pair with the running app (one-time setup)
jam-sql pair

# A verification code is displayed — confirm it matches
# the dialog shown in Jam SQL Studio, then approve.
How pairing works
The CLI reads ~/.jamsql/mcp-discovery.json (written by the running app) to find the MCP server port
Sends a pairing request to the app — the app generates a short verification code (e.g., JAZZ-7742)
The code is displayed in both the terminal and a consent dialog in Jam SQL Studio
You verify the codes match and click Approve in the app
The CLI receives the MCP bearer token and stores it in ~/.jamsql/credentials with 0600 permissions (owner-read only)
After pairing, all CLI commands automatically resolve the endpoint and token. No environment variables, no flags, no config files.
Security model
Rogue pairing request — user must verify the code in the app UI matches the terminal. A remote attacker cannot see the code displayed on your screen.
Token interception — all communication is over localhost loopback (127.0.0.1). Never leaves the machine, not routable from the network.
Token on disk — ~/.jamsql/credentials has 0600 permissions (owner-read only), stored in the user's home directory, never in a project directory, never committed to git.
Stale discovery — CLI checks PID liveness before trusting the discovery file. Stale entries from crashed processes are detected.
Port scanning — discovery file replaces port scanning. CLI reads the exact port from ~/.jamsql/mcp-discovery.json.
Unauthorized MCP access — all MCP endpoints (except /status and /pair/*) require a valid Bearer token. Pairing endpoints are origin-validated and rate-limited.
Commands
After pairing, all commands work without manual token or endpoint configuration:
# Check installation and pairing status
jam-sql doctor

# Show pairing + app status
jam-sql status

# Launch the app if not running
jam-sql launch

# List saved connections
jam-sql connections

# Execute a query
jam-sql query -c production "SELECT * FROM users LIMIT 5"

# List available MCP tools and resources
jam-sql tools
jam-sql resources

# Call any MCP tool directly
jam-sql call ui_open_tab '{"type": "query"}'

# Read an MCP resource
jam-sql read sql-studio://context/tabs

# Remove stored credentials
jam-sql unpair
Which Approach Should You Use?
All approaches complement each other:
Use AI Chat Sidebar for quick, conversational assistance while writing queries or building notebooks. It's the fastest way to get AI help without leaving your editor.
Use AI Workspace when you want to iterate on queries with AI agents using the integrated terminal + file sync workflow.
Use the Jam SQL Skill + MCP Server when you're working in an external AI tool (Claude Code, Cursor, Copilot, Codex, etc.) and need your agent to understand Jam SQL Studio and access your databases. Install the skill with jam-sql add-skill, then enable the MCP server for live database access.
Use all three for maximum flexibility — the sidebar for quick help, AI Workspace for file-backed collaboration, skill + MCP for external tool integration.
Ready to Work with AI?
Download Jam SQL Studio and experience AI-native database tooling.
What is the difference between AI Chat Sidebar, AI Workspace, and MCP Server?
AI Chat Sidebar is a built-in chat panel in the Query Editor and SQL Notebooks powered by your locally installed Claude CLI or Codex CLI — no extra subscription required. AI Workspace runs inside Jam SQL Studio with an integrated terminal for AI agents to edit .sql files directly. MCP Server exposes your databases to external AI tools like Claude Desktop or Codex CLI via the Model Context Protocol.
How do I connect Claude Desktop to Jam SQL Studio?
Claude Desktop requires the mcp-remote proxy since it only supports stdio transport. You need Node.js 20+ installed separately. Enable MCP Server in Settings > AI Integrations, then configure claude_desktop_config.json to use npx mcp-remote with the endpoint and token. See documentation for full setup instructions.
Is the MCP connection secure?
Yes. The MCP server binds to localhost only (127.0.0.1) and requires bearer token authentication. Query execution is disabled by default; when enabled, Jam SQL enforces strict read-only queries unless you explicitly enable Confirm mode, which prompts you to approve each write query. Passwords are never exposed and all tool calls are logged.
What AI tools work with Jam SQL Studio's MCP Server?
Any MCP-compatible tool works: Claude Desktop, Claude Code, Codex CLI, OpenCode, GitHub Copilot (via MCP extension), and custom agents built with LangChain, AutoGen, or any HTTP client.
Can AI tools modify my database through MCP?
Only if you explicitly enable Confirm mode and approve each write query in-app. By default, query execution is disabled; when enabled, Read-only mode restricts MCP to safe queries like SELECT/EXPLAIN/SHOW/PRAGMA.
What do I need to use the AI Chat Sidebar?
Just install Claude Code CLI or Codex CLI (or both). Jam SQL Studio uses your existing CLI installation — no additional subscription or API key configuration in Jam SQL is required.
Which AI backends does the AI Chat Sidebar support?
Claude CLI and Codex CLI. Install either or both — Jam SQL auto-detects available CLIs and lets you switch between them.